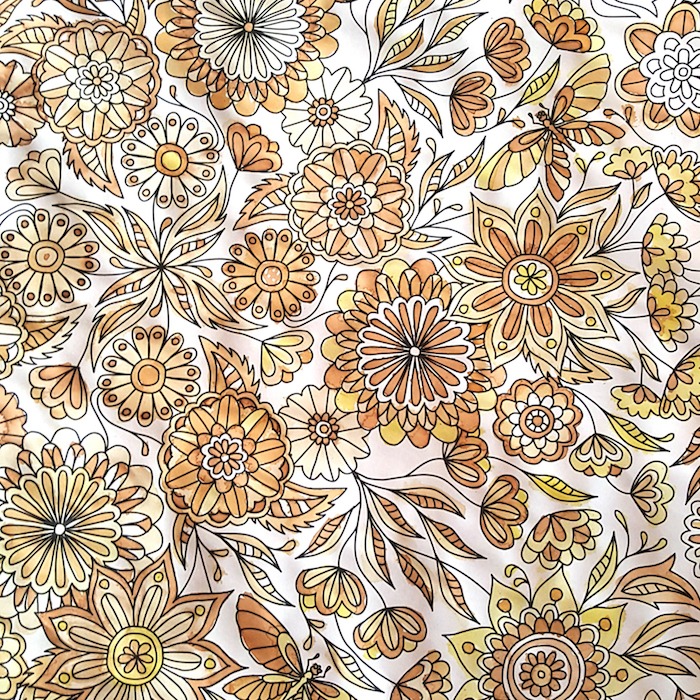
A few days ago I shared a picture on my Instagram Account, featuring an adult coloring page colored with regular, brewed tea. The post was a hit! I decided to share a tutorial, so you can try this technique at home.
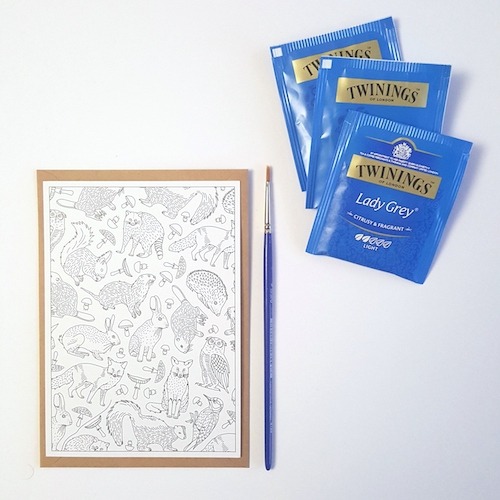
It’s always a good time to grab a cup of tea (In fact, mine is standing in front of me right now!), but for this tutorial we won’t be drinking it. We’ll use a very intense tea essence as watercolor paint. Here’s what what’s needed:
- 2-3 Tea Bags – I used these
- Thin Synthetic Brush
- Your Coloring Page – I used this coloring postcard
- Boiling water
- (Optional) Hair dryer or heat gun
This may come as a surprise, but I actually recommend using low quality, black tea for this purpose. Expensive tea may contain whole or broken tea leaves, which is great for brewing and drinking, but not so much for paint making 😉 Tea bags with powdered tea are going to work best here. I used Twinings Lady Grey, because it was too strong for my taste and I didn’t want to waste it.
1. Brewing
In 1/4 cup boiling water, put 2-3 bags of tea. Squeeze the essence out of the bags by tapping them with a tea spoon. Let the cool and brew for at least 30 minutes or even overnight. I like to brew my painting tea on the day before. During the night, some of the water evaporates and the essence is more pigmented in the morning.

2. It’s all about the layers
Time to start painting! Keep in mind, our tea painting is going to be monochrome, so instead of various colors (like with pencils), we’ll be working with various shades of the same color. How do we achieve all of these shades with one and the same tea brew? My answer is: layers. Darker shades can be achieved by layering tea 4 or 5 times and lighter shades only need 1 or 2 layers. While I was waiting for my coloring to dry, I made a simple paint chip for your reference:
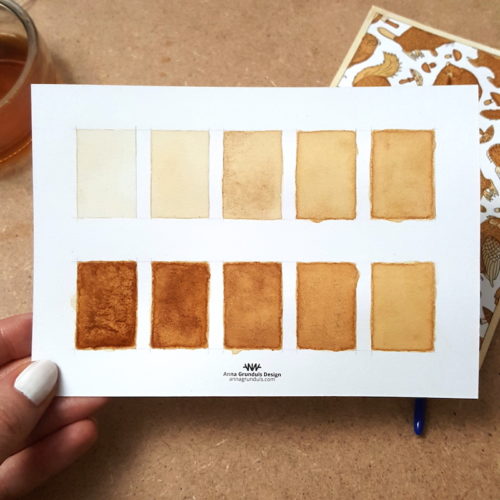
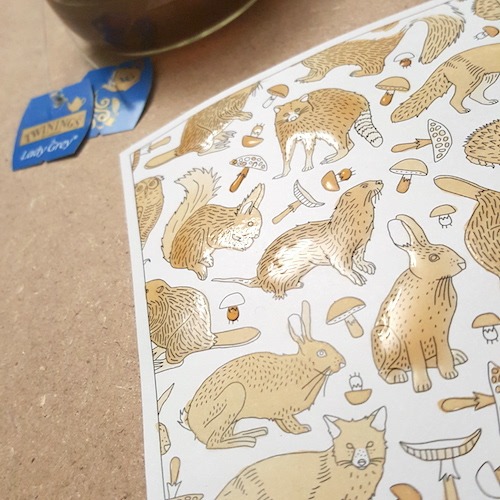
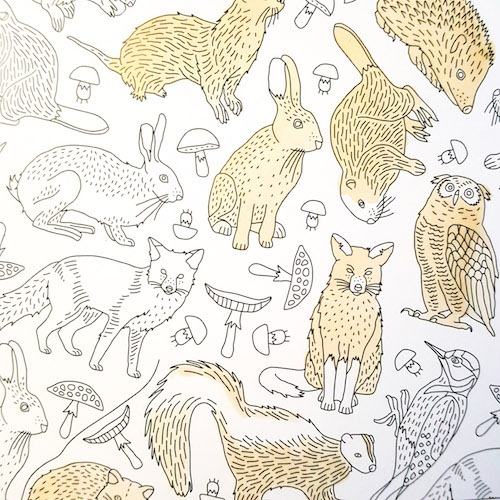
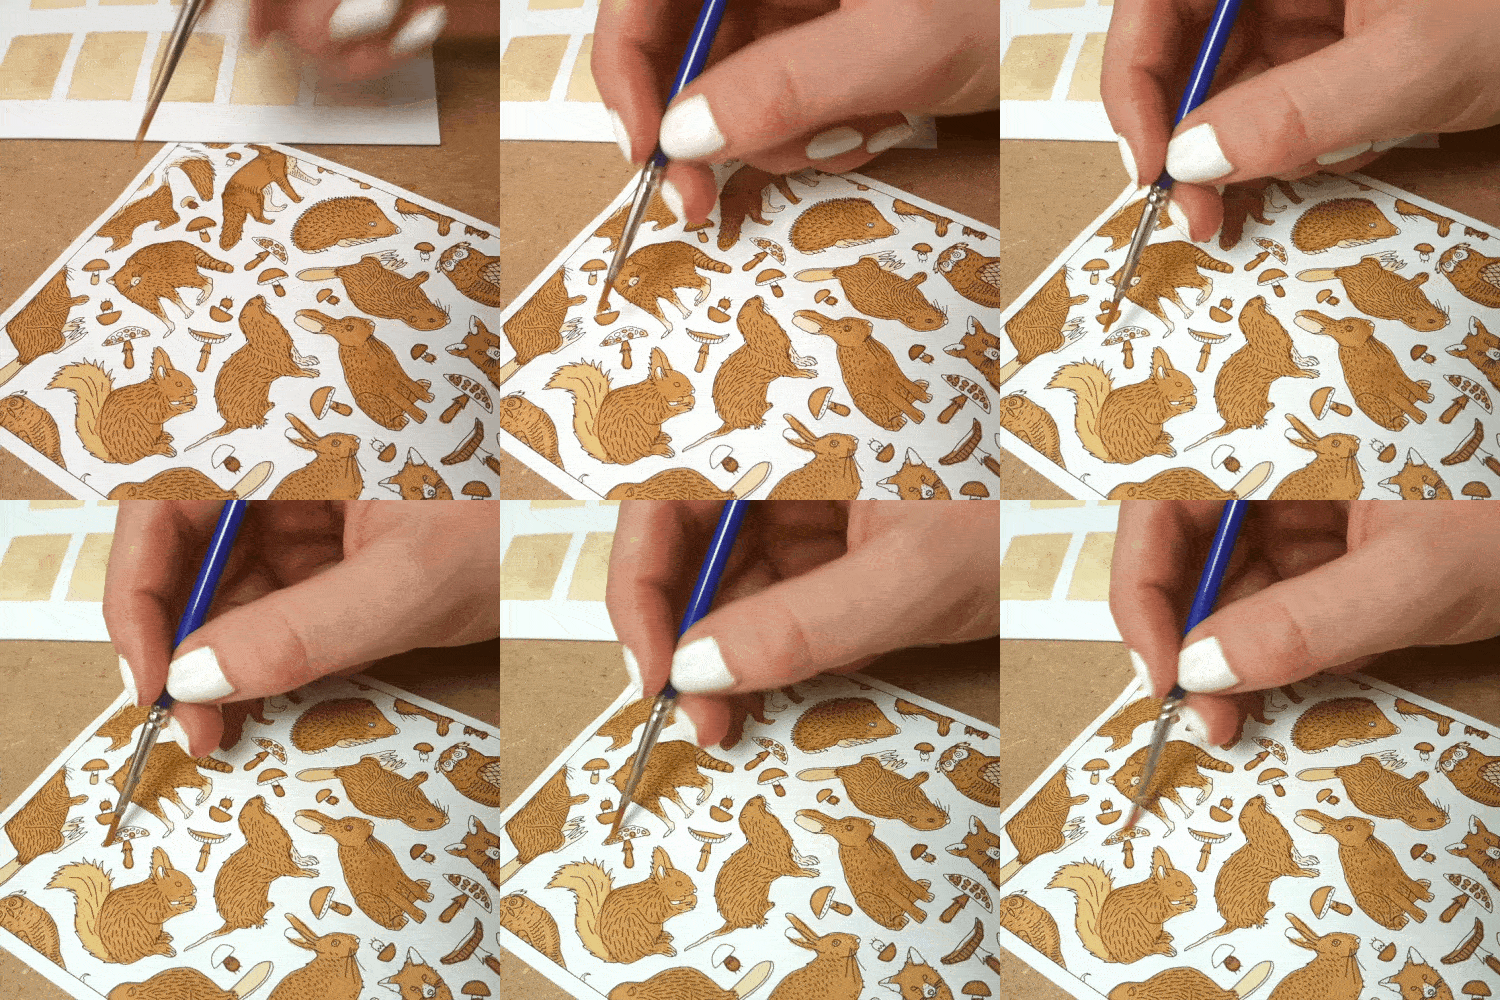
For the first layer, I start off by coloring only the details I want to be the darkest. You’ll need a nice, thin brush for this. As you can tell from the pictures, I like to paint very thick layers. It causes the paper to wave more at first, but once it dries, the paper flattens out.
3. Let dry
When you’re done painting the first layer you’ll have to wait until it fully dries, before you start working on the second one. Otherwise, all layers will mix up and every element will end up having the same shade. I recommend setting the picture aside until it fully air dries, but if you’re impatient like me, you can dry it with a heat gun or hair dryer. Keep a fair distance between the dryer and the paper, so you don’t blow the tea drops outside the lines.
4. Reapeat for next layers
At this point you pretty much know what to do: Each next layer should cover the element you colored before AND some that you want to be slightly lighter. Let the layer dry and paint the next one, this time covering even more elements. Repeat the steps until your picture is finished!
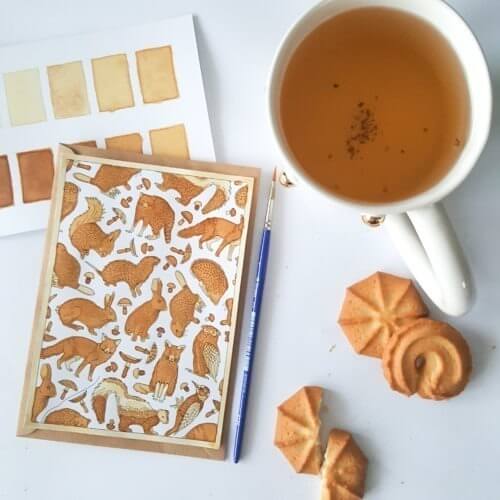
You can see my finished picture above. How did I do? 🙂
Coloring postcards like this one can be found in this section of my shop.
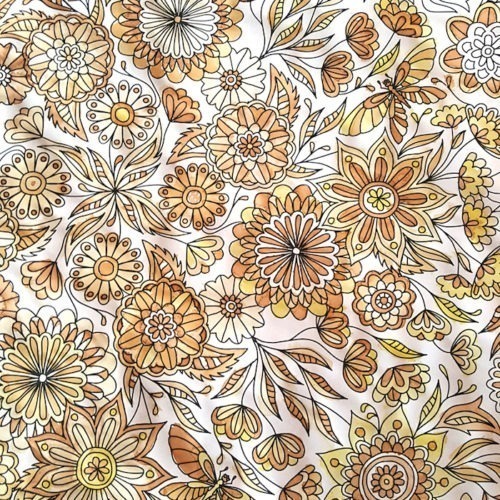
Floral Mandala in the top picture was colored by Personally Tea.
Happy Coloring,
Anna






I had heard about using tea for color, but the step by step was perfect! I’ve been having trouble deciding on what to use for flesh tones and I believe I now have my answer, thanks so much!!
I’m so glad I could help! This technique is perfect for skin tones and earthly tones in landscape images too.
We tend to use tea after use as plant pesticide to keep them away from insects. But using it as a color to create lovely art is absolutely a new learning. Will try it out.
Tea has so many uses! I had no idea it would keep the insects away, I only knew that some people use it as a fertilizer for the plants. 🙂 I can’t wait to see what you create.
This is a savvy idea! No waste of tea 🙂 I like the classic results.
Thank you! I also like the colors. It’s a fun way to experiment with a new coloring medium and monochrome coloring in one ????
This is something new I learnt today, and I guess more eco friendly way of colouring too.
Well, it’s definitely a way to reuse tea bags that you used once or tea that you would otherwise throw away. 🙂 There are actually plenty of ways that tea can be reused! As hair dye, plant fertilizer… In China it’s even used as pillow filling sometimes! ???? I also heard that in Korea some people add dry tea leaves to concrete because it bonds better this way, but I can’t confirm it, because I have very little experience with concrete 😀
How creative is this! I never knew you could use tea this way! This will be a fun weekend project to try out! Saving post!
Yay! I can’t wait to see what you create ????
i love this. adult coloring books are so much fun and relaxing.
Agreed! Adult coloring can be so meditative! 🙂
Love the colours, very autumnal
Thank you! 🙂
Wow! I love the tan / brown color. I can use my “used” teabags and make them an alternative color. Nice one!
Oh, definitely! Many tea bags can only be brewed once (after that they start to be bitter), so it’s a great way to reuse them 🙂 I agree, the shade is beautiful. I love the earthy tone. It looks even better in person!
This is the first time I read about tea coloring. It looks like something really fun and relaxing. Perfect for the lockdown and tea lovers! I have tried Yoga, coloring mandalas, meditating and so on.. So finding something different is always good. I am not a painting but it helps me relax so I am definitely trying this!
I’m so happy you like this idea, Daniel! I can’t wait to see what you make. I also think that this is a perfect project for the lockdown. It’s a slow and relaxing process and it doesn’t really require any expensive supplies. I actually used everything I already had at home 🙂
wow i am really impressed. i love this !!!! i am going to try this at home haha
Yay! Let me know how it goes. If you need any help, you can always reach me on social media or tag @annagrunduls #annagrundulsdesign 🙂
This is so cool. We just used tea recently to tie dye a few sweatshirts.
How cool! Tea is a very good dye. 🙂
Wow! I know about coffee art. This is the first time get to know using tea. Thanks!
I know, right? I’m a tea lover, so I had to try it with tea. 🙂
wow. you are so very clever. i like the idea of using tea bags for your coloring. thanks for sharing this clever craft idea.
Aww, thank you! I’m glad you love it 🙂
omg this is awesome!! i love that print, i thought it was fabric at first! what a great way to colour in!
Thank you! It’s one of my illustrations 🙂
hey hey hey! My roommate and I are into collecting various teas lately. I haven’t heard about this one that you can use tea for coloring. If ever we get bored here in the room, we should definitely give this one a try! Thanks for sharing this.
You’re welcome! If you have a lot of teas, you can experiment with different colors. I used black tea in my example, but you can also use green tea for a yellow color dye ????
That is a really cool idea! I’ve never thought of using tea as a color source for actual coloring. I knew you could use it for fabric.
Thank you, Bill! Tea is a great dye, because it is naturally fermented, which makes it last longer 🙂 I love experimenting with new coloring supplies, so it was my natural first choice.
That really is quite amazing! I have never heard of this being done before and to read this post and see your images and clips is quite fascinating. I would love to give this a try with my niece. It would be a lovely activity and I can’t wait to see how it turns out. Like you, I think we will also use a hairdryer to speed up the process – and I hope we can achieve a similar effect to what you have shown here.
Thank you Nicole! I hope you’ll love it ???? Feel free to tag me on social media – I’m always happy to answer any additional questions and I can’t wait to see your beautiful creations ????
I love this so much! I can’t wait to try it. I have some teas that have been in my cupboard for too long, so I’ll start with those. Thanks for the demo!
Oh, I can relate to that! It’s a great way to use the teas that you didn’t exactly love 😉
wow that is so cool i,m just about to start some old style drawings and this technique is perfect for the backgrounds thank you so much
Yay! I’m so glad I could help. This sounds like a fantastic project 🙂
I must try it, it looks wonderful!
Hi Chris! I’m sure you’ll have a ton of fun.